I took up a course in make-up and decided to share the tips that the masters taught me.
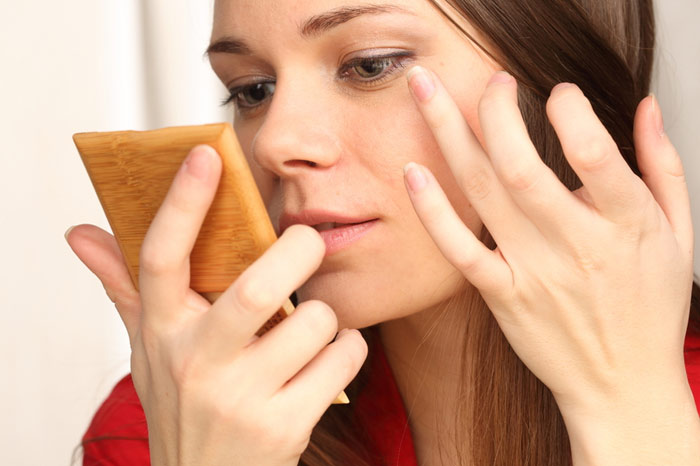
Each school offers various makeup courses. You can choose lessons on theatrical, dramatic makeup and even zombie makeup. As for me, I was interested in the basic makeup rules for women. Today I decided to re-read my notes and share the knowledge with you.
Makeup lesson 1. Buy good brushes
This was what the very first lesson began with. Remember one important rule, “Your brushes and sponges are just as important as skills” – so the teachers said. A good brush actually improves your technique. It especially concerns highly pigmented products – a good tool will prevent unnatural spots, poor shading, or unevenness.
A professional may have up to 100 brushes, and all of them can be favorite ones! Beginners should buy a set of 8 must-have brushes:
- Foundation brush
- Corrector brush
- Fluffy powder brush
- Blush brush
- Small shading brush
- Flat eyeshadow brush
- Angled brush (trimmed at an angle) when precision is required
- Lip brush
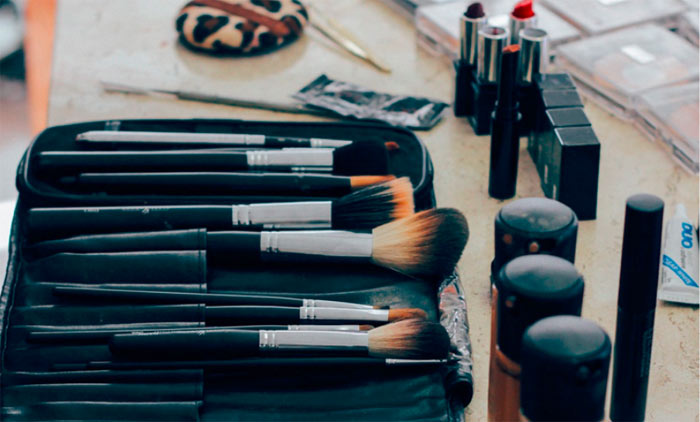
So you have the brushes, but you need to learn how to use them. The way you hold the brush affects makeup result. The closer your fingers are to the metal part of the brush, the more pressure you produce, and vice versa. If you need to apply the product evenly, then hold the brush approximately in the center.
Makeup lesson 2. Different foundations for different purposes
Everyone knows that there are three main varieties of foundation: liquid, powdery and creamy. However, this does not mean that they should be applied on top of each other. More often, you need only one product depending on the purpose of makeup.
Liquid foundation has a better coating ability and can be used to cover the face completely. Foundation cream is not aimed for complete face coverage.
However, it can be applied to the entire face in a thin translucent layer. To do this, mix the foundation with a primer or moisturizer.
There is a misconception that you cannot use foundation on oily skin. This is not so. Simply apply it with a damp sponge.
For dry and combination skin, use a liquid product and apply it with a brush concentrating on the center of the face. The farther from the center of the face – the less product should be used.
Makeup lesson 3. Learn to hide flaws
The main help is the color wheel, which you are advised to memorize. You can get rid of the flaws with a properly matched correction color. You can mask pimples, redness around the nose, bluish circles under the eyes, etc.
It turns out that a green concealer corrects redness; orange-yellow one masks bluish spots. Beige concealer applied on a color spot will only create a dirty effect on the skin, so it should be used only when correcting scars and similar uneven zones.
By the way, the usual method of correcting dark circles under the eyes with a concealer dots laid out in an arc is not effective. You need to apply the concealer in a V-shaped line.
Makeup lesson 4. Learn to adjust face shape
Using contouring products is not so difficult. However, learning how to adjust the shape of the face is the main problem. The principle for “face molding” is that everything highlighted comes to the fore, and all that is darkened becomes less noticeable.
Use a bronzer product with a matte texture to darken certain parts of the face. You can highlight particular parts with a light-reflecting marker.
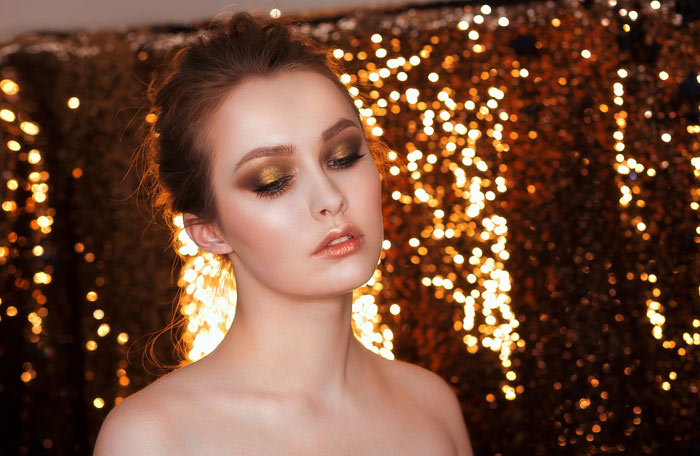
Makeup lesson 5. Learn to adjust the shape of the eye
If you understand the principle of contouring, then the same techniques can be used to adjust the shape of the eye. Apart from light and dark shadows, an eyeliner will help do it. Use the color wheel to make eye color brighter: orange-brown shade for blue eyes, terracotta and reddish for green ones, blue and purple – for brown eyes.
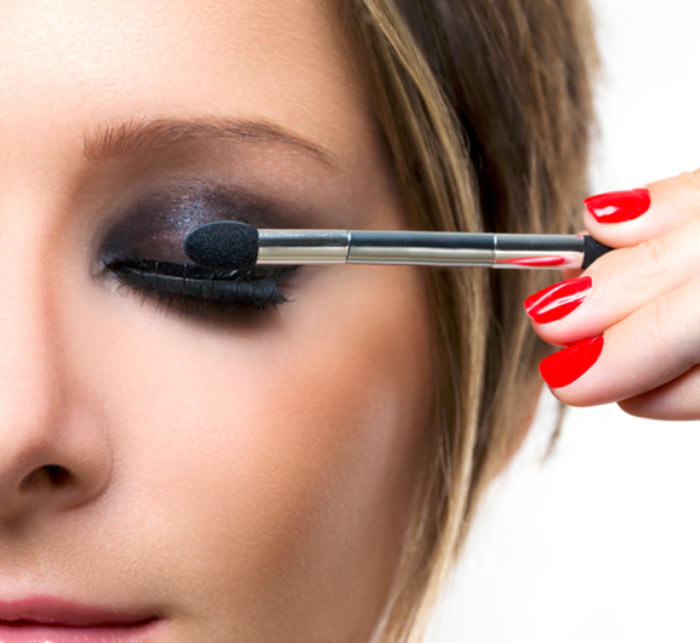
Makeup lesson 6. Learn to make proper eye lines
Tip one: draw a continuous line for as long as possible. Start from the inner corner of the eye and follow along the upper lash line to the center. Then draw a line from the outer corner and to the center, until the lines meet.
Tip two concerns how to draw eye lines easily. Always start with the lower lashes. This will help determine the correct direction. Then you will have no problem lining the top eyelashes.
Makeup lesson 7. Lips like Angelina
Makeup artists explained what lips are considered the most harmonious. Your lips will be beautiful if the size of the upper lip is approximately equal to that of the lower lip.
- Apply foundation to the lips. This helps to dampen natural pigments to get a clearer color of the lipstick. In addition, it will be easier for you to understand where actually the lip contour is.
- Using white eyeliner, gently blend the natural contour of the lips.
- Draw the new lip contour using a pencil of the same color as the lipstick. If you are satisfied with the shape of your lips, you can repeat the original contour.
- Apply lipstick with a brush, starting from the center to the edges.
- Apply a lighter shade of foundation around the lip line to make a more natural contour.
- A drop of lip gloss in the center of the upper lip will create a seductive effect, and your lips will look fuller.
 Makeup lesson 8. Eyebrow makeup is easier than you think
Discard all these schemes and calculations. It is not necessary to draw all these dotted lines and perpendiculars. Just mind the tone and color.
One of the biggest mistakes is the wrong eyebrow color and a tone too rich. Dark eyebrows, though a sign of youth and good hair pigmentation, make you look older.
Making up the eyebrows with a pencil is not that difficult. Draw the hairs by putting pressure on the pencil at the beginning of the stroke to imitate the roots. If you cannot do it with a pencil, it is easier to make up your eyebrows using eye shadow. Do not apply a very rich color on the inner corners of the eyebrows or you will create a frown.


