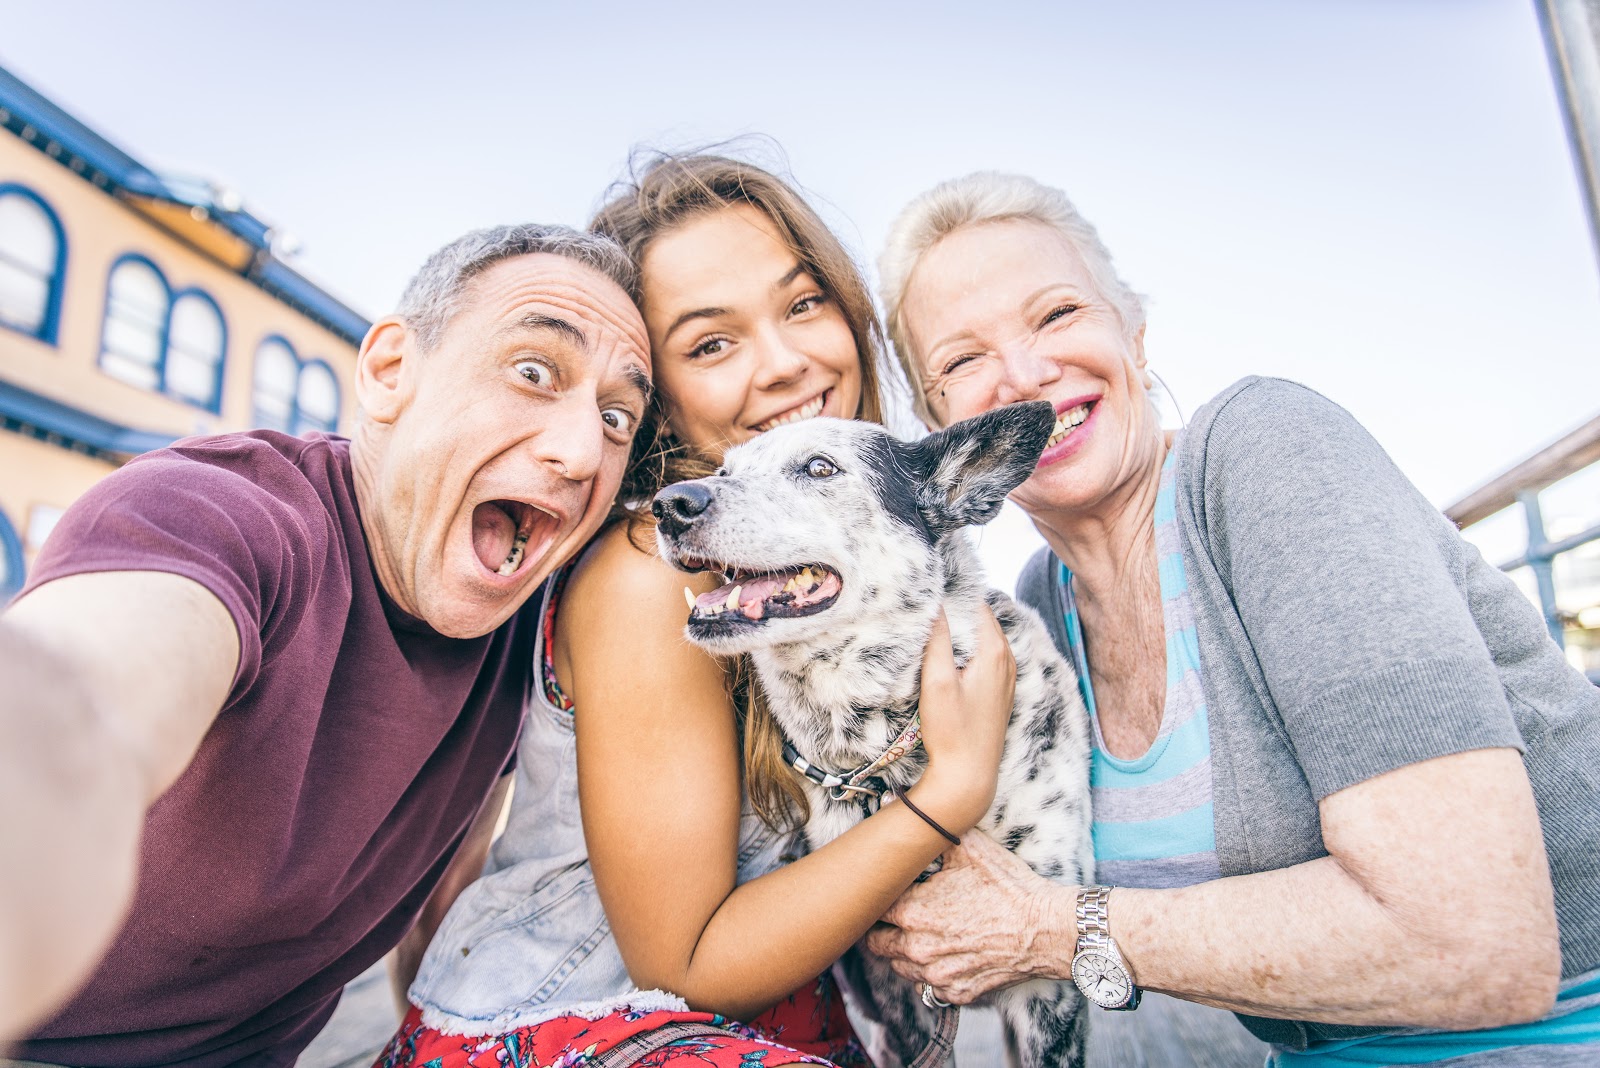
Family photos are a great way to bring everyone together and capture the changes that each year brings. Unfortunately, hiring a photographer for this task isn’t always an option for families on a budget. When you want to take family photos and can’t afford a photographer, you’ll need to learn to do this yourself. With a few simple tricks and photo retouching software, you’ll be able to take professional looking family self-portraits in no time.
What you’ll need:
- A tripod
- A digital camera with a timer
- A remote shutter
- A list of poses
- A basic zoom lens or wide prime lens (35mm, 28mm)
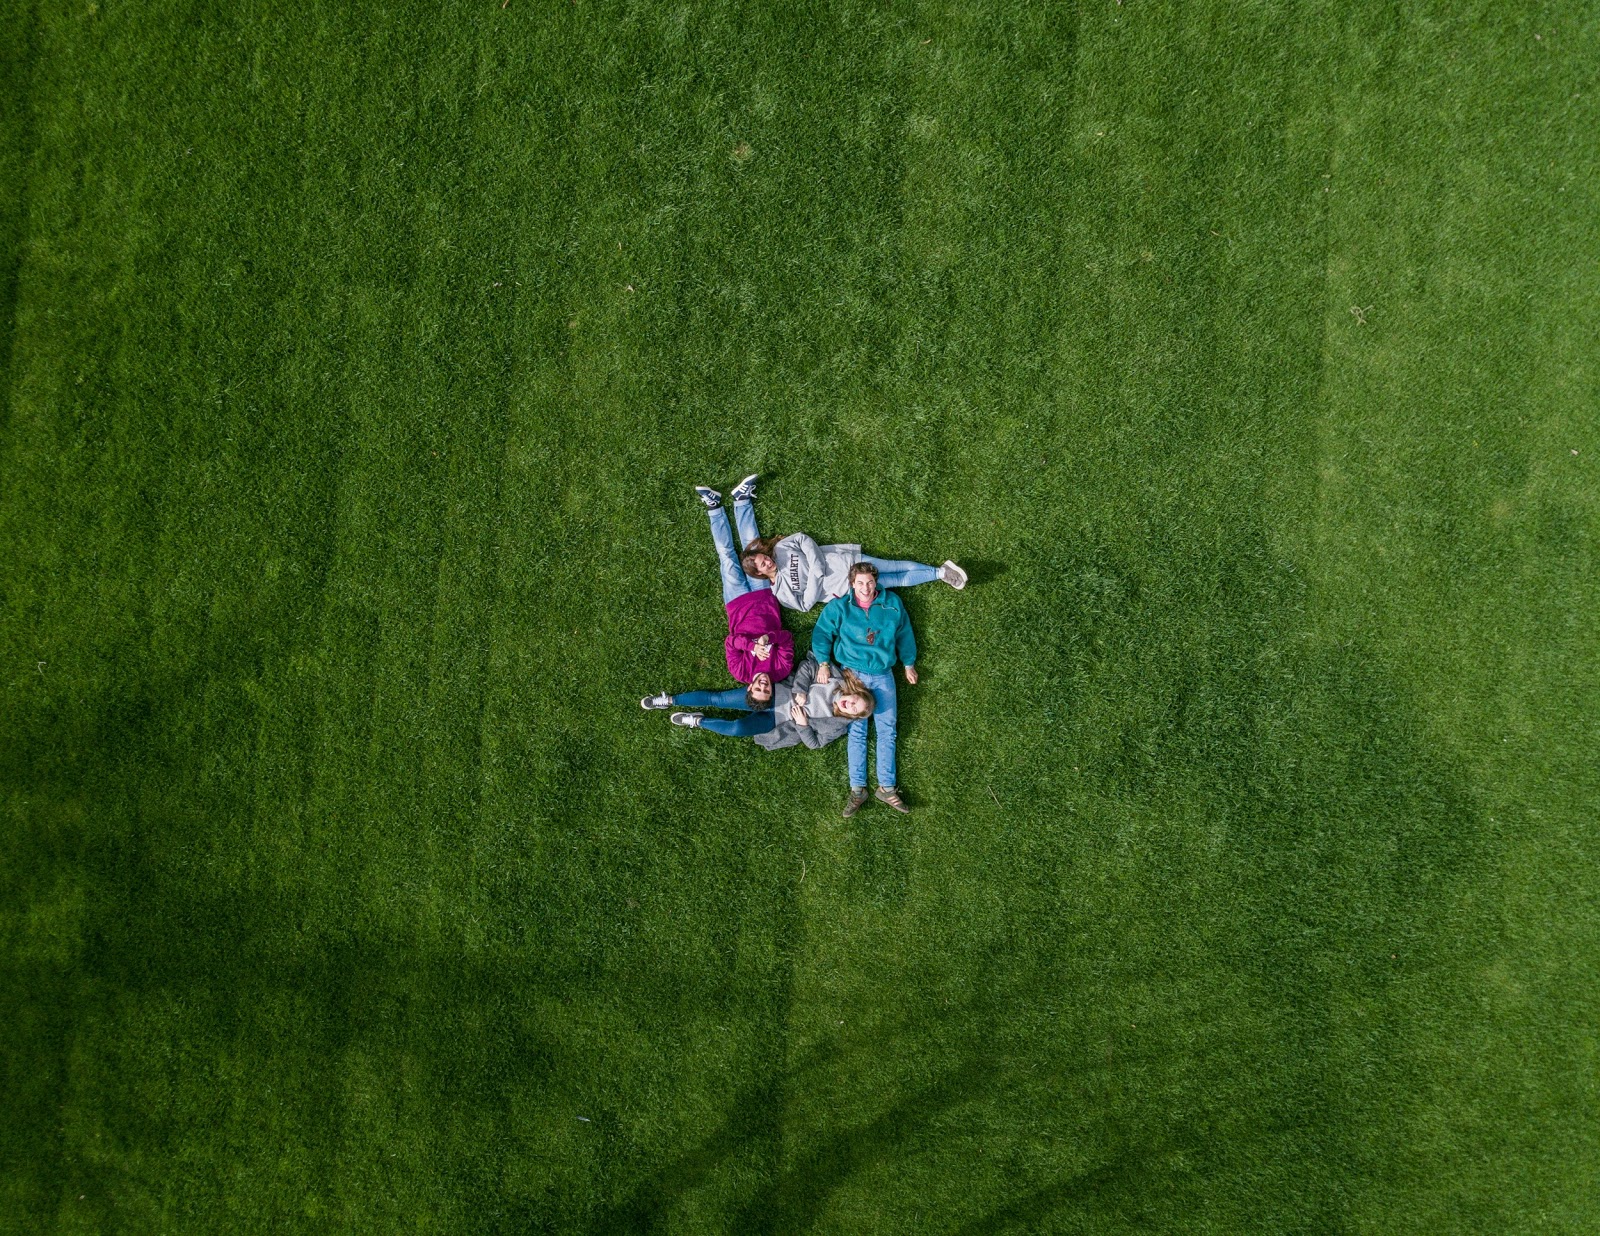
- A Camera Drone if there is one
A digital camera with a timer is really helpful if you don’t have someone to act like a photographer. However, running back and forth every time you want to click the shutter can get really annoying. If you use a remote shutter, you don’t need to move from your pose to take another shot. This is especially helpful if you have small children who don’t have the patience to wait for a 10-second shutter every time. Another cool thing is a camera drone. Here is an example of a creative pic taken with the help of a drone.
 Preparing poses
Having a list of poses can help when you’re in the moment and no one knows where to stand. This can be a mixture of looking at the camera, interacting with each other, and even a few silly ones. Looking at Pinterest and other websites can help give you ideas of traditional family poses.
Getting the shot
- First things first, you’ll need to find a good background. Perhaps your backyard looks out into the woods, or you live near a nature preserve. Be sure that the spot you choose has good lighting. You don’t want to shoot in direct or dappled sunlight, as this will leave harsh highlights and shadows in your final image. Try finding a shady area or shooting during an overcast day.
- Once you have found the perfect spot, get your camera set up on a tripod on solid ground. Make sure your remote is paired with your camera – some newer versions allow you to connect via your smartphone, while other versions work via a radio transmitter. Set your camera to shoot RAW images.
- When this is all set up, direct your subjects into the frame. Be sure that everyone fits and there is still room for yourself. Set the exposure. You’ll want to use the lowest ISO possible (100 – 400) to reduce the amount of grain in the final image. For a beautifully blurred background, shoot at a wider aperture (f/2.8 – f/4). Be sure that your shutter speed is no slower than 1/60 of a second, or you may get motion blur.
- Focus on your subject by using automatic focus, and then switch over to manual so that your camera doesn’t try to re-focus. If you’re using a wider aperture, make sure your subjects aren’t too close to the camera. The closer the subjects are, the more likely they will be out of focus if they move.
- Take a couple of test shots using the remote while still outside of the frame. This way, you can ensure that the remote works and the exposure and focus are both correct.
- Join your family in the frame, and start shooting! Work from your list of poses and direct everyone to their places. If you find that some subjects end up a lot closer or further away from the camera in certain poses, go back and re-set the focus. Take more photographs than you think you need.
Post processing
Once you have all of your images, you’ll need to perfect them in photo retouching software such as Luminar 3. If you’ve shot in RAW, you can easily adjust the exposure and white balance to your personal preference. Try playing with the Exposure, Contrast, Shadows, White Balance, and Highlights sliders to enhance tones and balance the light. Don’t go too crazy with contrast and saturation; the mildest tweaks are often the best.
If you’ve noticed an unwanted object in the background of your photograph, you can use the Clone Stamp tool to get rid of it. Luminar 3 also offers plenty of Portrait presets that can give you a great starting point. Play around until you find something that works for you!


