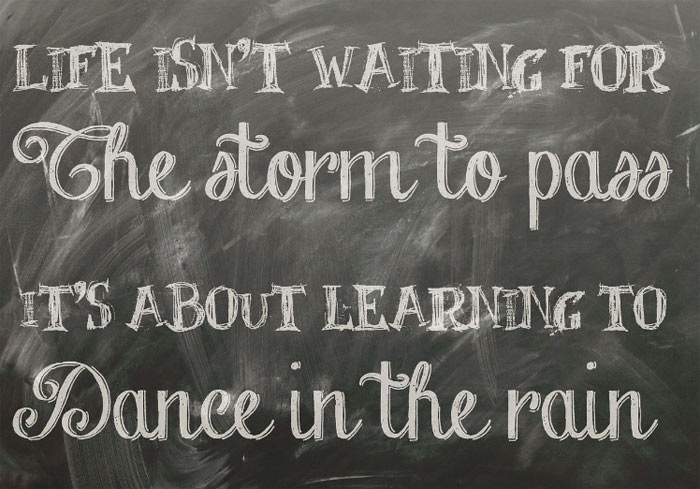
Chalkboard art has become increasingly popular over the last few years, with craft aficionados and newbies alike jumping on the bandwagon. Chalk is a versatile medium with which to create fun, eye-catching artwork at events and at home.

Nothing looks more striking on a chalkboard than bright, elegant lettering. Different font styles become artwork in themselves and convey the skill and patience of the artist. Luckily, you don’t have to be an expert to create professional looking chalkboard lettering. Here are some tips and tricks to take your chalkboard lettering to the next level.
Use a Ruler
Using a ruler to plan out your chalkboard lettering not only ensures that you write in a straight line, but it also helps you stay consistent when it comes to size and spacing. Draw light, ruled lines to indicate the top, bottom, and center point of your letters.
Add dashes to indicate how wide each letter should be and make sure you have lots of room on both ends of the chalkboard so that your letters don’t get crowded as you progress. Taking the time to do this task will help prevent frustrating erasures when you realize that you don’t have room for the last letter of a word.
Sharpen Your Chalk
When artists work with colored pencils, they don’t wait until they’re dull to do the majority of their work. Even children find no greater joy than using a new pack of sharpened crayons. So why would chalk be any different? Sharpen your chalk in a pencil sharpener to give it a fine point rather than a blunt edge. This will help you create fine, well-defined lines as you create your masterpiece.
Use Chalk Markers
If sharpened chalk still doesn’t give you the definition or contrast you desire, switch to chalk markers. Chalk markers provide bold, vibrant colors and different size options for smooth, beautiful imagery and lettering. You can purchase chalk markers at online suppliers like Versachalk or at most major craft stores.
Map it Out
Don’t just map out where your letters will go. Take your time and sketch a rough outline of the letters themselves. This action will help you get comfortable with more elegant font styles before you spend time fine-tuning your approach.
Look at this step as you would for the first draft of an essay. Your spelling might be off, and some sentences may require some grammar correction, but you’ll at least be able to see the direction you are taking from a high-level view. Doing this rough sketch will also help you decide if you like the style font you’ve chosen or if you want to change it up.
Use Different Tools
Don’t limit your toolkit to various types of chalk. Experiment with a paintbrush and a chalk marker to get a brushed approach. Keep cotton swabs handy to correct small mistakes and edge your fine lines. Create a template on a computer before printing and transferring it to your board rather than drawing everything from scratch. As with any craft, it’s the ability to think outside the box that will make your project unique and personal.
Practice Makes Perfect
Don’t get frustrated if your first attempts at chalkboard lettering are anything but Pinterest ready. People don’t master calligraphy in a day, and it is unlikely that you will be happy with your first attempt at chalkboard lettering. Take time and practice often to develop this skill. After a few attempts, you’ll be able to tell what works and what doesn’t so that you can hone your craft and create something amazing!
Take these tips and tricks and start crafting. In no time, you’ll be able to create fabulous home decor and memorable, personalized gifts for any occasion.


