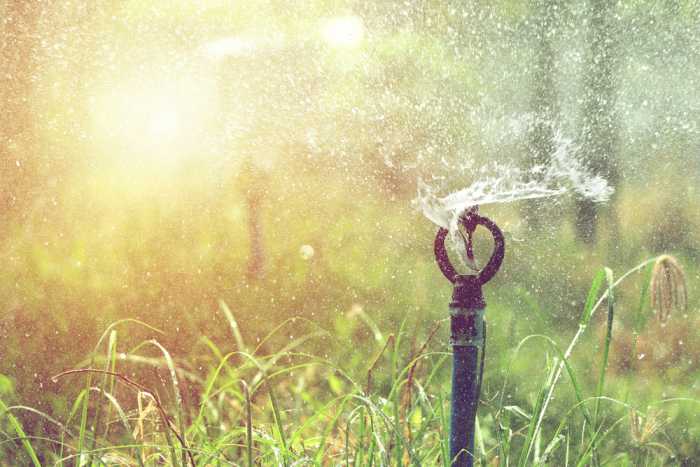
Keeping your garden and lawn healthy and looking great is a major concern for most homeowners. With the hot Australian summers, your lawn can be greatly affected by the lack of rain and harsh climate so it’s important that you take steps to ensure that it stays lush and green. Keeping your garden healthy starts with installing an effective irrigation system in conjunction with irrigation controllers to deliver enough water at the right times to your lawn.

There are many different factors you will need to take into account before starting your installation. The size of your garden, water pressure, what your budget is, the local climate and a whole host of other elements can all have an impact on how you will set up an irrigation system for your property. However, with the right approach and planning, you can be sure that your garden will look great and remain as healthy as possible for many years to come.
Continue reading to learn how you can set up and effective irrigation system on your property to ensure your landscape always gets enough water.
Make A Plan
Before you start digging, it’s important that you draw out a scale plan of your garden so that you know what you’re doing from the very beginning. Be sure to mark in the position of any larger trees that may be in your garden as well as particularly shady or sunny spots and also slopes where water could potentially run off your lawn. Finally, it’s always a good idea to take a look at 1100.com.au or phone 1100 to check for underground utilities such as piping or cables before you start digging your trenches.
Measure Your Water Pressure
Position a bucket underneath the tap that you will be used to supply your system with water. Open the tap for precisely ten seconds. Measure how many litres of water has filled the bucket during this ten second period and then multiply this number by six to give you the maximum flow rate per minute.
Map Out Your System
Using the diagram you sketched earlier, lay out the poly pipe on top of your lawn so that you can visualise where exactly it will be. To make it easier to uncoil the pipe, try leaving it in direct sunlight for some time as this will allow it to soften a little, making it easier to roll out. Next, ensure that your sprinkler heads, elbows, and other joiners are in the right position.
Start Digging
When deciding on the depth of your trenches, simply use your sprinklers as a guideline. You want to ensure that your sprinklers are just below flush with the surface so this will determine the depth of your trenches. Avoid keeping them perfectly flush with the surface as they could be damaged when you are mowing the lawn. Using a trowel or a spade, you can start digging the trenches that the poly pipe will sit in according to your plan.
Put The System In Place
Once the trenches are dug, you can start laying the piping into the ground and begin assembly. Use ratchet clips to secure each of the joints and be sure that you have tightened everything in place to ensure there are no leaks or other issues down the line.
Add Your Sprinklers
The final step of your installation will be to install the actual sprinklers for your system. Following the diagram you created earlier, lay each of the sprinkler heads out in their correct positions. Attach the sprinklers to the poly piping and pack soil around each one firmly so that they stay in place.
Test And Fine-Tune Your Irrigation System
With your system installed, the final step remaining is for you to turn on the water and test it out. Before you add the end sprinklers, be sure to flush the system to eliminate any earth, dirt or debris from the pipes which could clog up the system. With the system flushed, install your end sprinklers and inspect the system for leaks. Adjust your sprinkler heads to ensure that they are covering your lawn effectively and delivering water to where you need it most. Now that your irrigation system is installed and working correctly, you can sit back and relax and take pride in your lush, green, healthy lawn.


