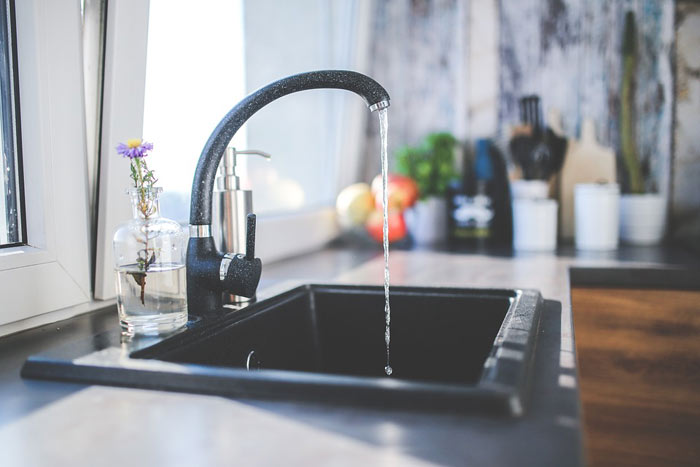
Installing a faucet is one of those simple things you don’t need to spend money on a professional to get the job done. With an Allen and adjustable wrenches and a screwdriver, you can do the installation on your own in a matter of minutes.
Here is what you need to do to have your new faucet fully installed in your kitchen:
Step 1
Turn off the water supply of the sink and then remove the current faucet. Once this is done feed the spray hose first via the spout of the faucet and then via the hub.
Step 2
Align the hole in the sprout’s back with the clip on the kitchen hub. Thereafter, make it snap into place by working it on with a back and forth motion.
Step 3
Attach the sprayer at the hose’s end then use your hand to tighten the connection. To keep the sprayer tightly in place as you work it is advisable to use MagnaTite docking from Delta. It is a smart technology that uses a very powerful magnet to snap the faucet spray wand firmly into place as you continue with the rest of the installation.
Step 4
Mount a hole in the countertop and then insert a faucet. The thickness and material of the countertop will inform the kind of equipment that you need to use in the mounting of the faucet. For instance, some materials may force you to use a gasket and an escutcheon.
Step 5
Below the sink slide the mounting bracket over the shank of the faucet. Make sure that the supply lines fit in the bracket’s inside. Use the screwdriver to screw the nut onto the shank’s end. Using the Allen wrench tighten the nut against the counter’s underside. Before tightening the nut for good make sure that the kitchen faucet is appropriately positioned over the sink.
Step 6
Slide the weight of the hose over it and then push its end slowly onto the outlet of the faucet. Hold it in place by placing the clip over the connection.
Step 7
Attach the lines of water supply with each line running to the supply it matches. If you are not sure about which of the lines is for hot water and which one is for cold water check their tips. The hot water line has a red tip while the cold water line has a blue tip. The compression fitting at the end of the lines should easily fit onto the valve of the water supply. If yours doesn’t then you may need to use an adapter. Sometimes you may find that the lines are too long. If this is the case you need to wind them into a loop whose diameter should not be less than 8 inches. Care should be taken to avoid the formation of kinks in the lines during the winding. Thereafter, screw the lines using your hand and then use the adjustable wrench to tighten them.
Step 8
Once the installation is done open the handle of the faucet and turn the water supply on for around 30 seconds. This is to allow for the removal of any debris that may be in the lines. Turn the water off and check if there are any leaks. If there are, tighten the connections further until there are no more leaks.
 As this DIY guide shows, installing a faucet is not rocket science. All you need is to follow instructions and you will save yourself money you would have spent on a professional.


