Are you on the hunt for some new necklaces? A necklace is a perfect accessory to tie a look together. But, necklaces can often be expensive. So, why not make your own? Making your own necklaces will not only save you money, but it can also be a really fun new hobby. How do you get started? Check out this guide to discover how to make your own beaded necklace at home.
Gather Your Materials
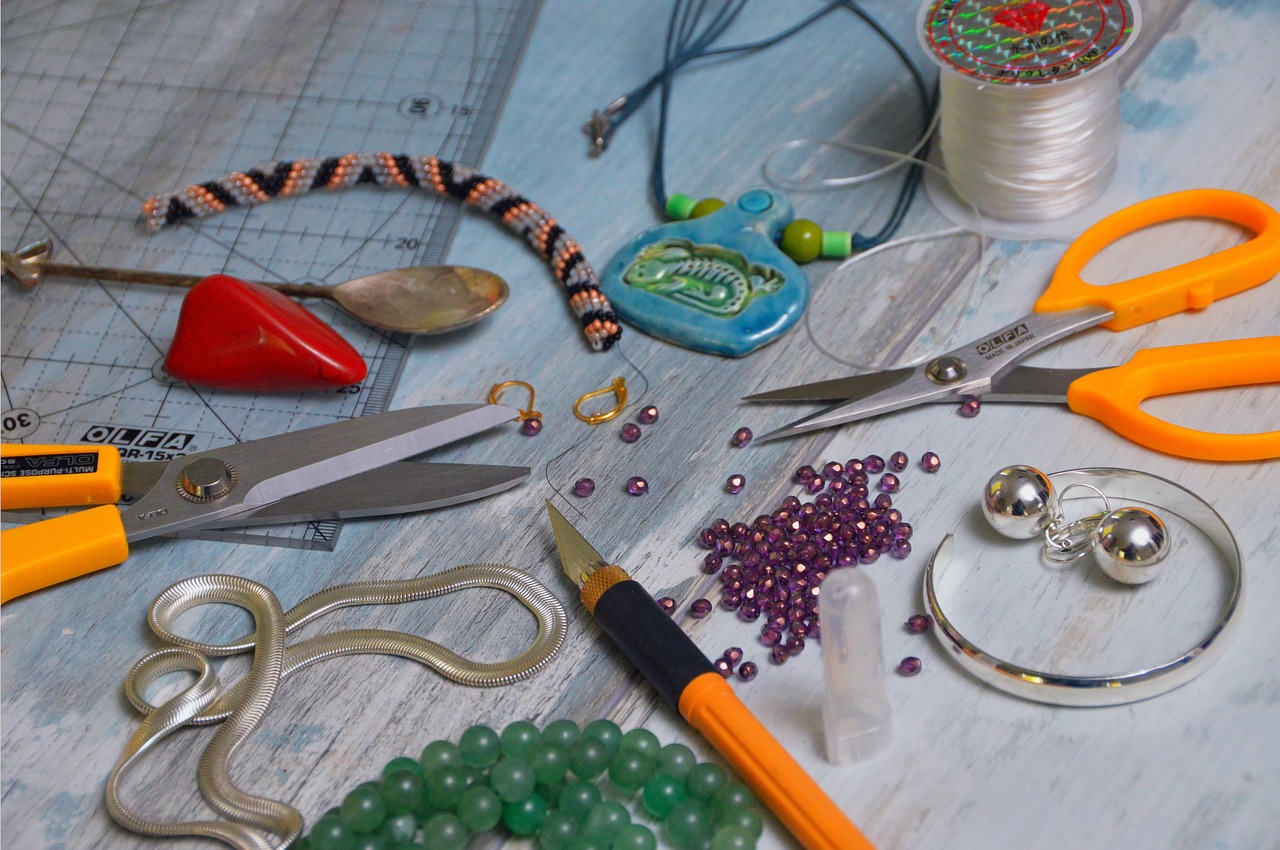
First things first, you need to gather the right materials. Here’s what you need to make a beaded necklace:
Wire Cutter
You can purchase a wire cutter at any craft store. Wire cutters are used to cut the beading thread. The reason you need to use a wire cutter instead of scissors is that most scissors aren’t strong enough to cut through beading thread.
A wire cutter will provide a nice clean cut.
Beading Thread
Beading thread is what you’ll string your beads onto in order to form a necklace. When it comes to beading thread, you have several different materials to choose from. If you want to place your necklace on you by stretching it out over your head, then you’ll need to buy a stretchy beading cord.
If you plan to place your necklace on you using a clasp, then we recommend either using nylon or silk.
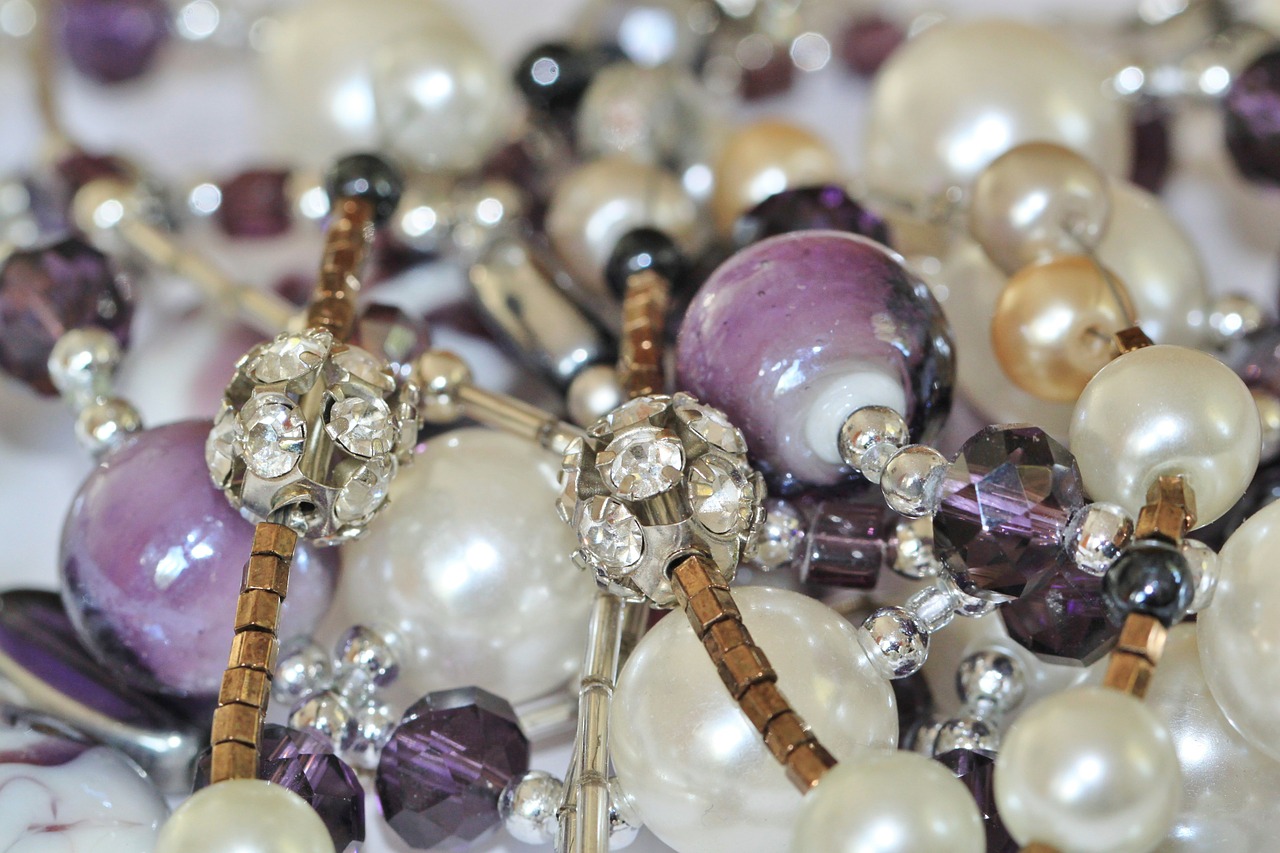
Silk is a great option for beading pearl necklaces, as it’s a very soft material with even knots throughout. Nylon is a great alternative to silk, as it’s also consistently even but a bit more durable.
Closures
Closures can also be bought at craft stores or any wholesale jewelry store. There are many different types of closures available, and all achieve the same effect. Here are some of the options you have:
- Bar and ring
- Hook
- Lobster claw
- Box clasp
- Screw
- Springring
- Ball and joint
- Bullet
- Hinged clip
- Twister
- Slide lock
- Buckle clasp
- Side clasp
- Tab lock
- Tube lock
- Button stud rivets
- Anchor shackle
- Ball and joint
We recommend starting out with a basic hook or clasp, as these are easy to get a hold of.
Crimp Beads/Pliers
Crimp beads are soft metal beads that are beaded into the end of a necklace to create a loop to attach your closure to. You can find crimp beads in rounded shapes and tube shapes. In addition to crimp beads, you also want nose pliers or a crimping tool.
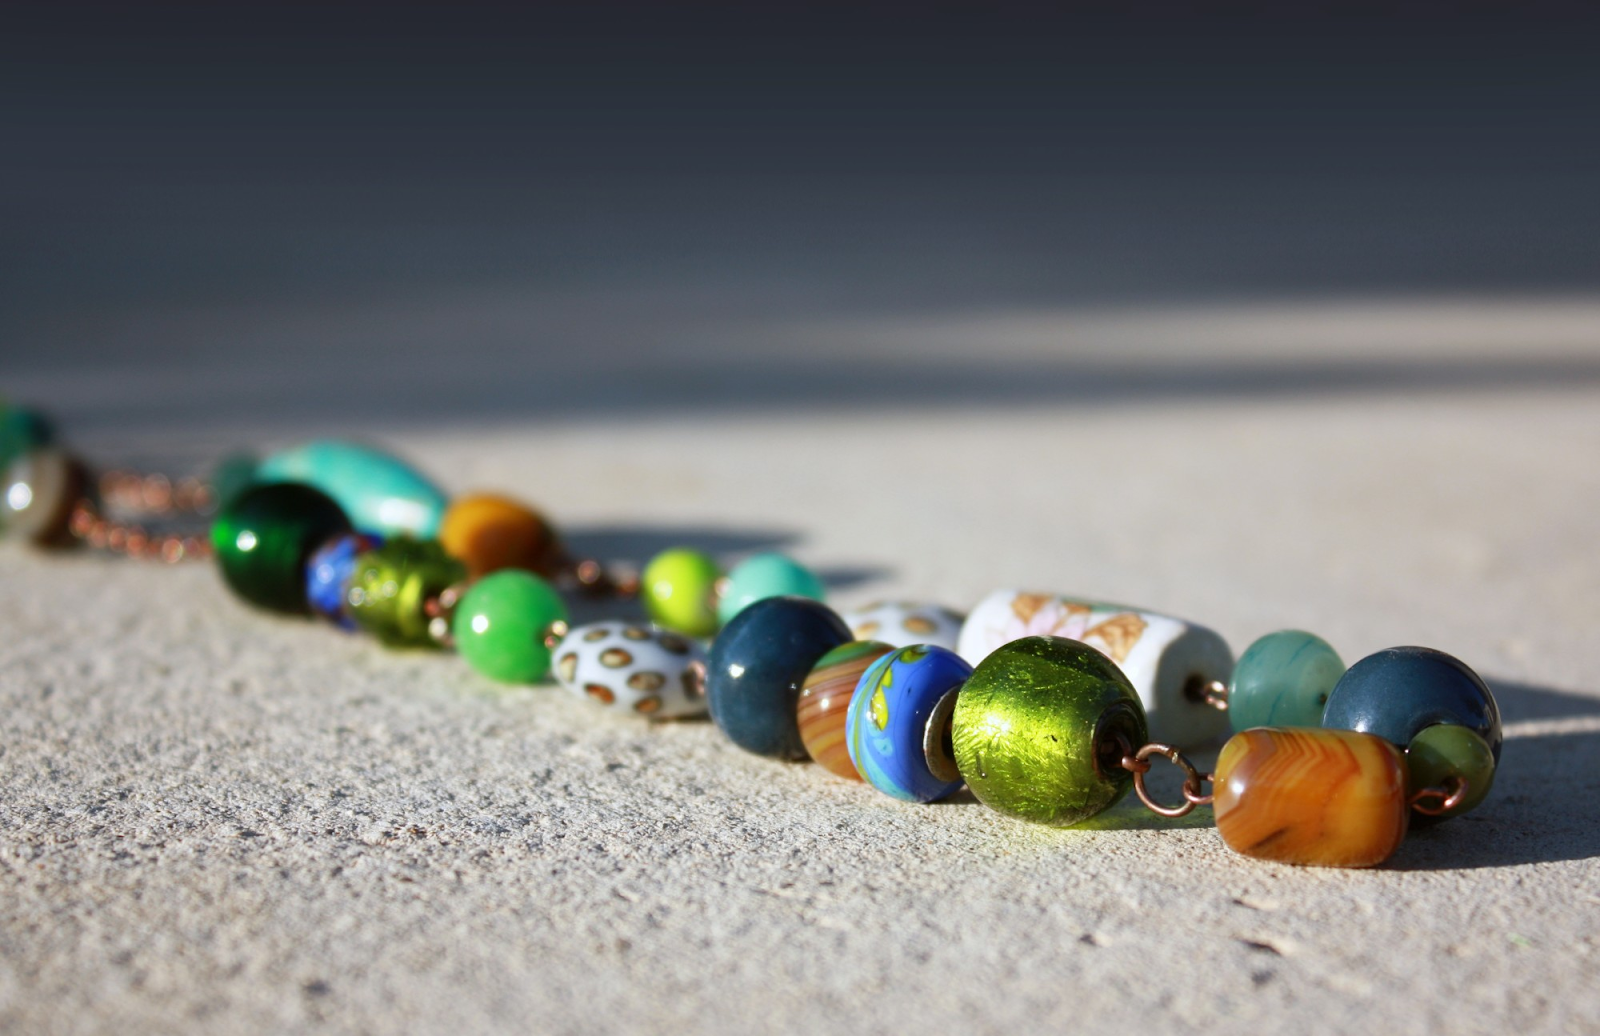
Decorative Beads
Last but not least, you need your decorative beads. The decorative beads you use for your necklace completely depend on your own personal preferences and the type of design you want to create.
How to Make a Beaded Necklace
Now that you’ve gathered your materials, it’s time for you to make your beaded necklace. Here are the steps you need to take:
Select the Length
First, you need to figure out how tight you want your necklace to be around your neck. If you want to wear it like a choker, then you’ll need to bead around 14 inches of the necklace. If you want a collar necklace, then you’ll need to measure out 14-16 inches. A lariat necklace is the largest, measuring at about 45 inches. To decide on the exact length, the best thing to do is to measure around your neck.
Prepare Your Design
Before you start beading, you should already have your design in mind. We suggest laying out your beads in your desired design pattern so you have something to follow along with. To find a bead design you like, we recommend looking online for some inspiration. If this is your first time beading a necklace, we recommend starting out with a simple pattern with just a few different types of beads. You may also want to invest in a beadboard to help you keep your pattern in order.
Cut the Beading Thread
Once you have the design figured out, it’s time to cut the beading thread. Add about 6 inches of extra slack. If you want your necklace to be 18 inches, cut the thread at 24 inches.
Secure the Necklace
Before you begin beading on your design, you need to secure your necklace. To do this, place one clasp onto the string and then make a small loop with the excess string. Then, thread the end of the loop through the clasp section. Next, take one decorative bead and string it over the clasp, followed by one crimp bead and one more decorative bead. Then, use your crimping tool to secure the crimp bead in its place.
Bead Your Necklace
Once the necklace is secure, it’s time to bead your design onto the necklace. This is the fun part, so take your time and enjoy yourself as your design comes together. Just remember to leave a few inches of string material at the end so you can place the other closure on to secure the ends of the necklace together.
Secure the Other End
To secure the other end of the necklace, you’ll follow the same steps as above. When you’re finished, use your wire cutters to cut the excess string material. Make sure you don’t cut too close to the wire, as you may need this extra string in the event that your necklace breaks.

Now that you’ve read this guide, it’s time to get started on creating your own beaded necklace.
You can use the same steps as above to create beaded anklets and bracelets as well. All you need to do is cut the string a bit shorter. Before you know it, you’ll have a brand new collection of jewelry that you made yourself! If you’re looking for more DIY craft projects, be sure to check back in with our blog!


